Making Of
Making of: Project Soane - VR Lighting Experience

By
Karam Bhamra, Principal CGI Designer, Hoare Lea
Taran Singh, Interactive CGI Designer, Hoare Lea
Chris Lane, CGI Designer, Hoare Lea
If you haven’t already checked it out, please see our Making of: Project Soane – Consols Transfer Office here. Following this, we took the 3D scene generated and used it to create a VR lighting experience.
Introduction
Our idea was to show how the sun path would have travelled through the, now demolished, Consols Transfer Office of the Bank of England, as designed by Sir John Soane, and built from 1788 to 1833. We chose the winter solstice (21st December), as this is when the sun’s orbit would be at its lowest point, giving that wonderful effect of warm golden sunlight entering the building in the morning as the sun rises, turning to brighter, cooler hues as it progresses through midday, and then back to the warm light as the sun sets in the late afternoon.
Soane would have designed and orientated the architecture in order to get as much daylight into the space as possible. We must remember that the Consols Transfer Office was built when electric lighting was not available and when fuel for gas and oil lamps would have been very expensive compared by today’s costs. So, the best way to light a building at that time was with daylight – and Soane was a master of this.
To show his mastery we placed the viewer in the heart of the Consols Transfer Office and allowed them to travel either forwards or backwards in time using a handheld controller in 15 minute increments. This allows the viewer to see and experience the feel of the space as the sun changes throughout the day.
As it reaches the late afternoon point, when it is almost totally dark, the scene switches to an imagined modern day lighting scheme, designed as if the space still existed. The viewer can turn certain lighting effects on and off, selecting which architectural elements are lit, thereby experimenting with changing the look and feel of the space,
Creating the 12-sided cubemap
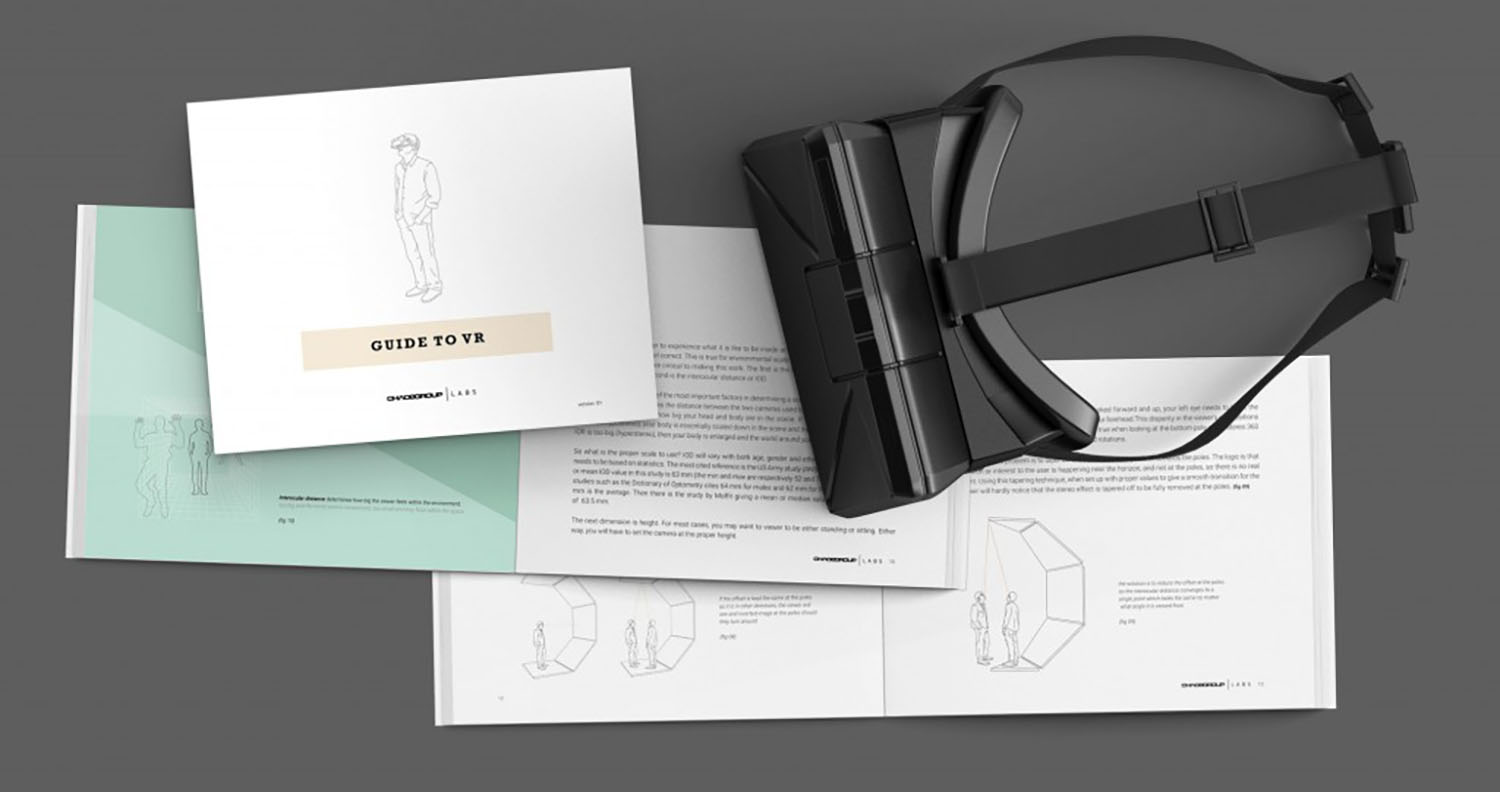
Using the same model from which we created our stills, we generated 12-sided cubemaps using the workflow provided by Chaos Group (the VR guide by Chaos Group is here).
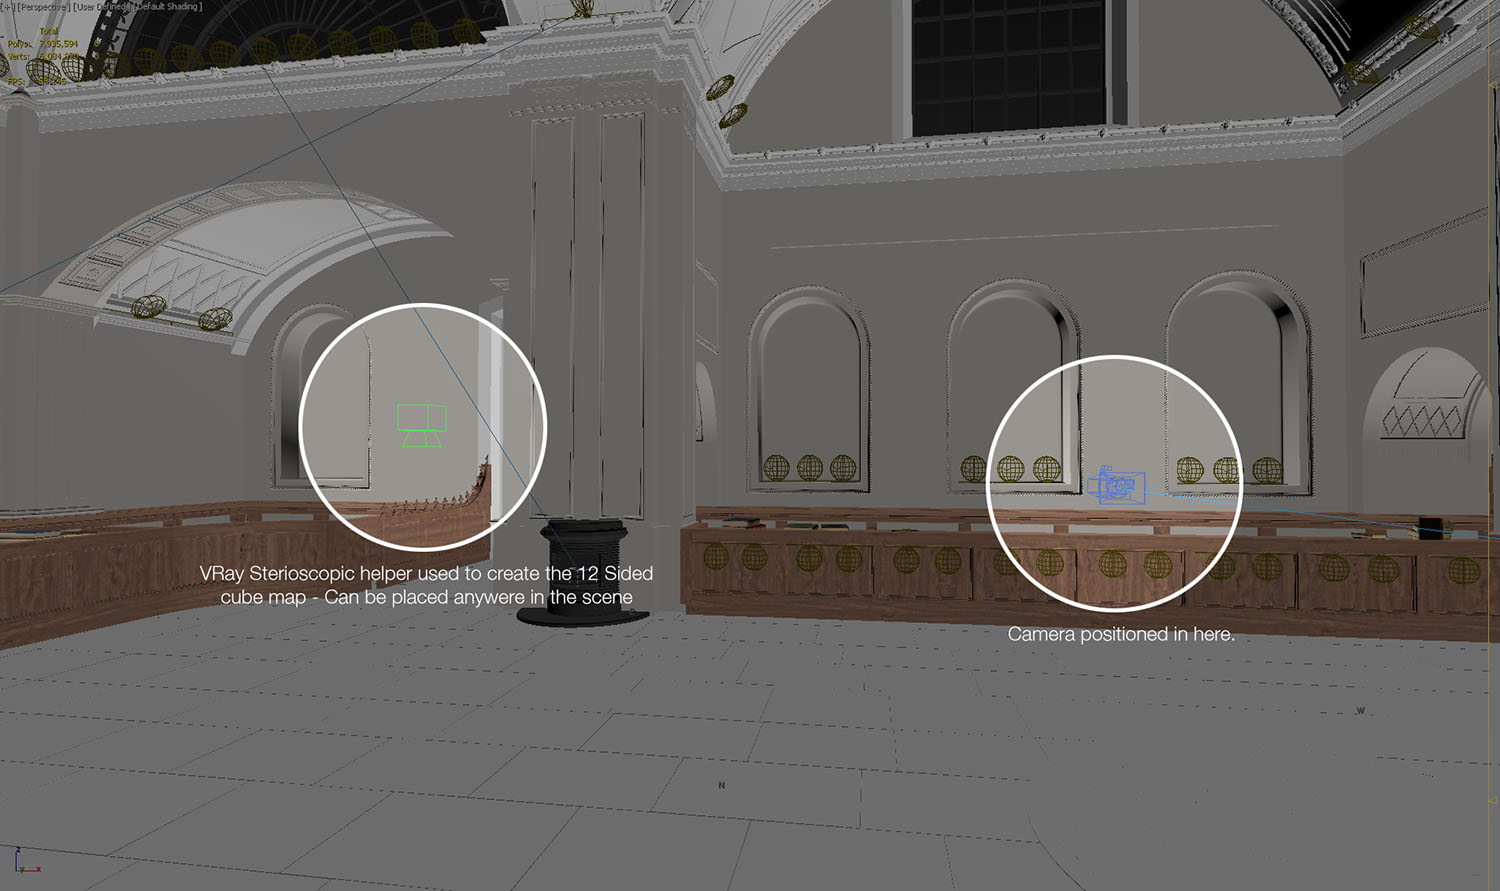
We followed their workflow pretty much exclusively. However, camera placement was extremely important, as we wanted a clear view of the sky dome and to be able to see the sun path through the space.
We therefore placed the camera off-centre and near one of the counters for interest.
The sun system was already setup with the correct geo-location and time of year (the winter solstice) for the still images. We animated the sun path over 120 frames from 7am – 5pm; this meant that each frame was rendered every five minutes. These were rendered at 18432 x 1536 and saved as uncompressed 32bit EXRs for maximum control (although little post-production was necessary).
Image showing a rendered cubemap at 12.00 midnight
Even though we had rendered every five minutes, we decided it would be best to only show every 15 minutes, as little change in the sun path occurred within a five minute time frame, and we did not want it to take too long for viewers to travel through the day.
Splitting the panorama images into separate images via photoshop action
Once the VRay stereoscopic images were rendered, we had to make them work in the game engine Unity3D. As the render comes out as a long strip of 12 cubemap images, (six for the left eye and six for the right, to create the stereoscopic effect) we had to devise a way of translating these images across to Unity3D without losing too much detail.
Cubemap template to help determine from which eye and in which direction each image is looking – for example: LR = Left eye, looking Right; LL = Left eye, looking Left.
We discovered that most game engines preferred images sized to “power of two” values, in order that they can take advantage of the data optimisation and compression built into the game engine. This meant that the long strip of cubemap images was not ideal and would have to divided and resized to the closest power of two values.
We decided to split the VRay stereoscopic image into 12 separate images for each scene. Although this would increase the load on the Unity3D engine, it would give us the quality we wanted, without a dramatic decrease in performance.
This meant the textures squares could be better optimised for the game engine and gave us more control over the individual scene textures.
To speed up the process, we wrote a script in Photoshop that could automatically split the stereoscopic image into twelve individual textures and flip the images appropriately.
Setting up cubemaps in Unity3D for left and right eyes
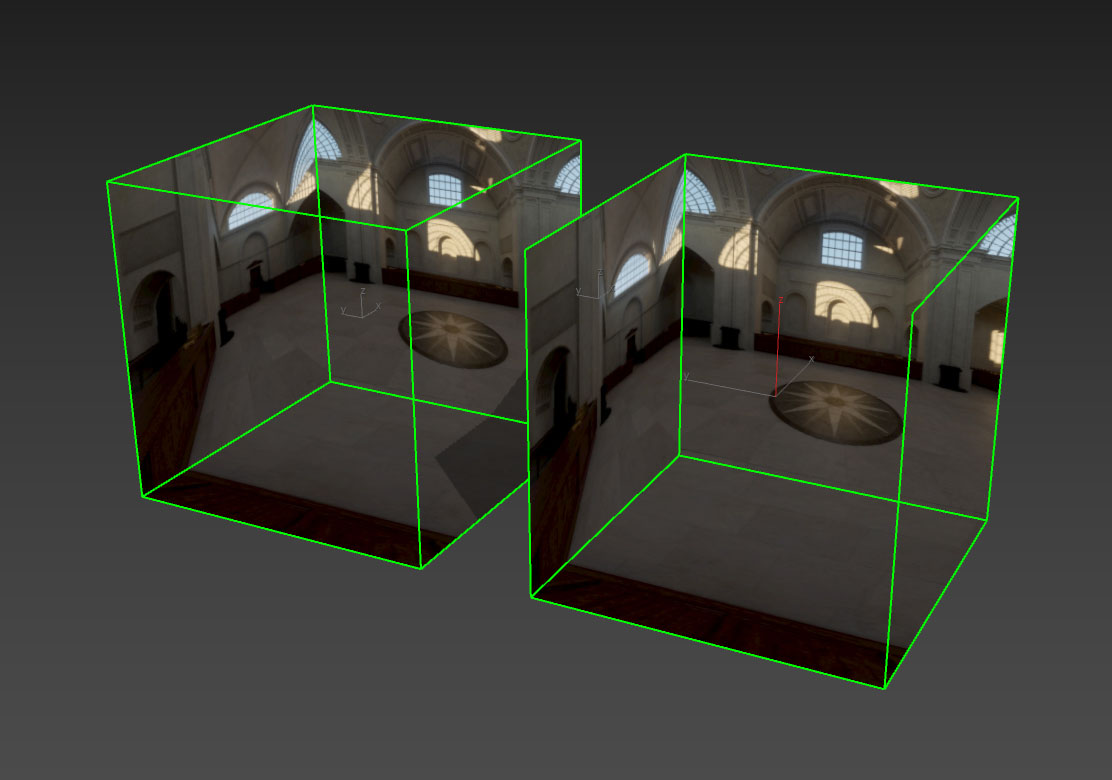
Using 3ds Max we created a box, flipped the faces inside out, and then unwrapped the UVs to map the 12 images onto two of these boxes, making one cube for the left eye and one for the right.
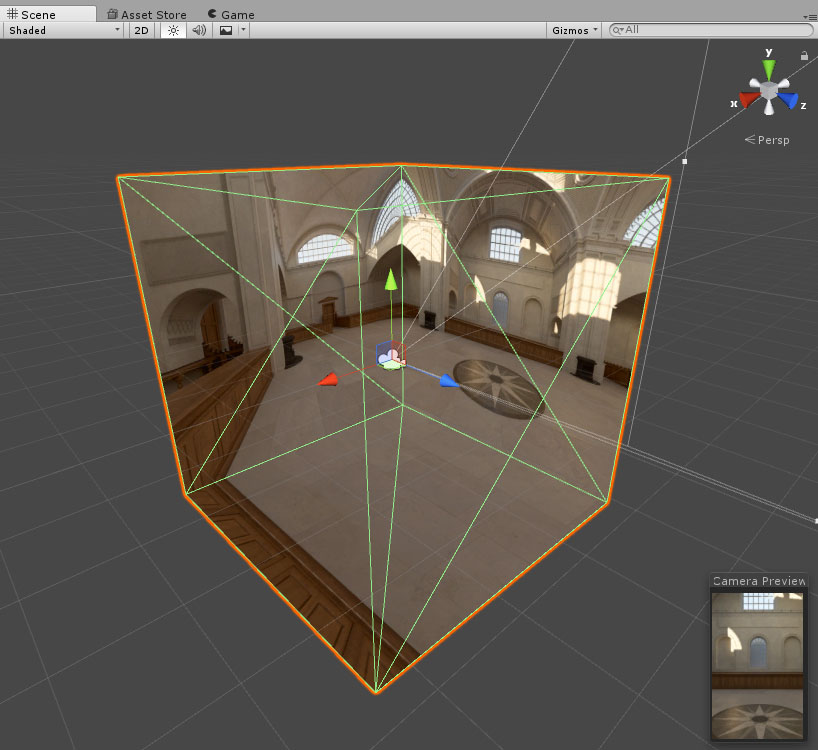
The cubes were then imported into the Unity engine and placed in the same position, overlapping each other. Through scripting, the left cube would be hidden from the right eye of the stereoscopic camera, and the right cube hidden from the left eye of the stereoscopic camera, while ensuring each eye would see the correct 3D perspective.
The same script was used to determine whether a VR device was attached to the machine, and if not it could switch to a single camera and only use the left cube for normal desktop viewing.
Automatically loading and changing textures via script
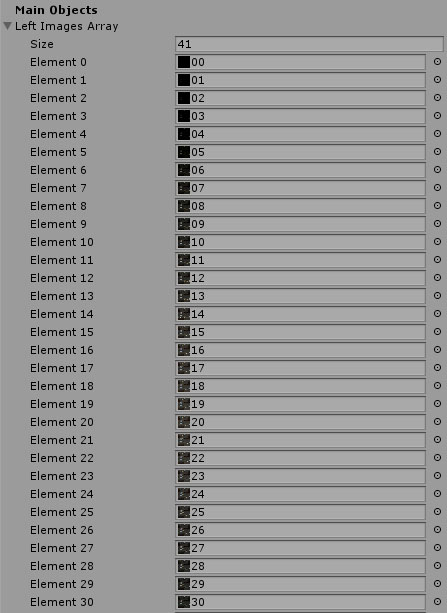
We faced the task of changing 12 images on 12 different textures every time the scene changed. It would have been extremely time consuming to set these textures and materials up manually – this would have involved creating lists of images and assigning them individually in the Unity editor.
We solved this by writing a script that would automatically load the images from each folder and assign themselves to the cubemap textures. This made it easier to make changes and gave us the freedom to reprocess and replace the images.
Texture array in Unity auto populated via script
Scripting the controls
We set a time index which would control the whole scene.
Whenever the time was changed it would run a function that would iterate through the cubemap textures and assign the correct texture (for the selected time of day) from the array list of hundreds of images.
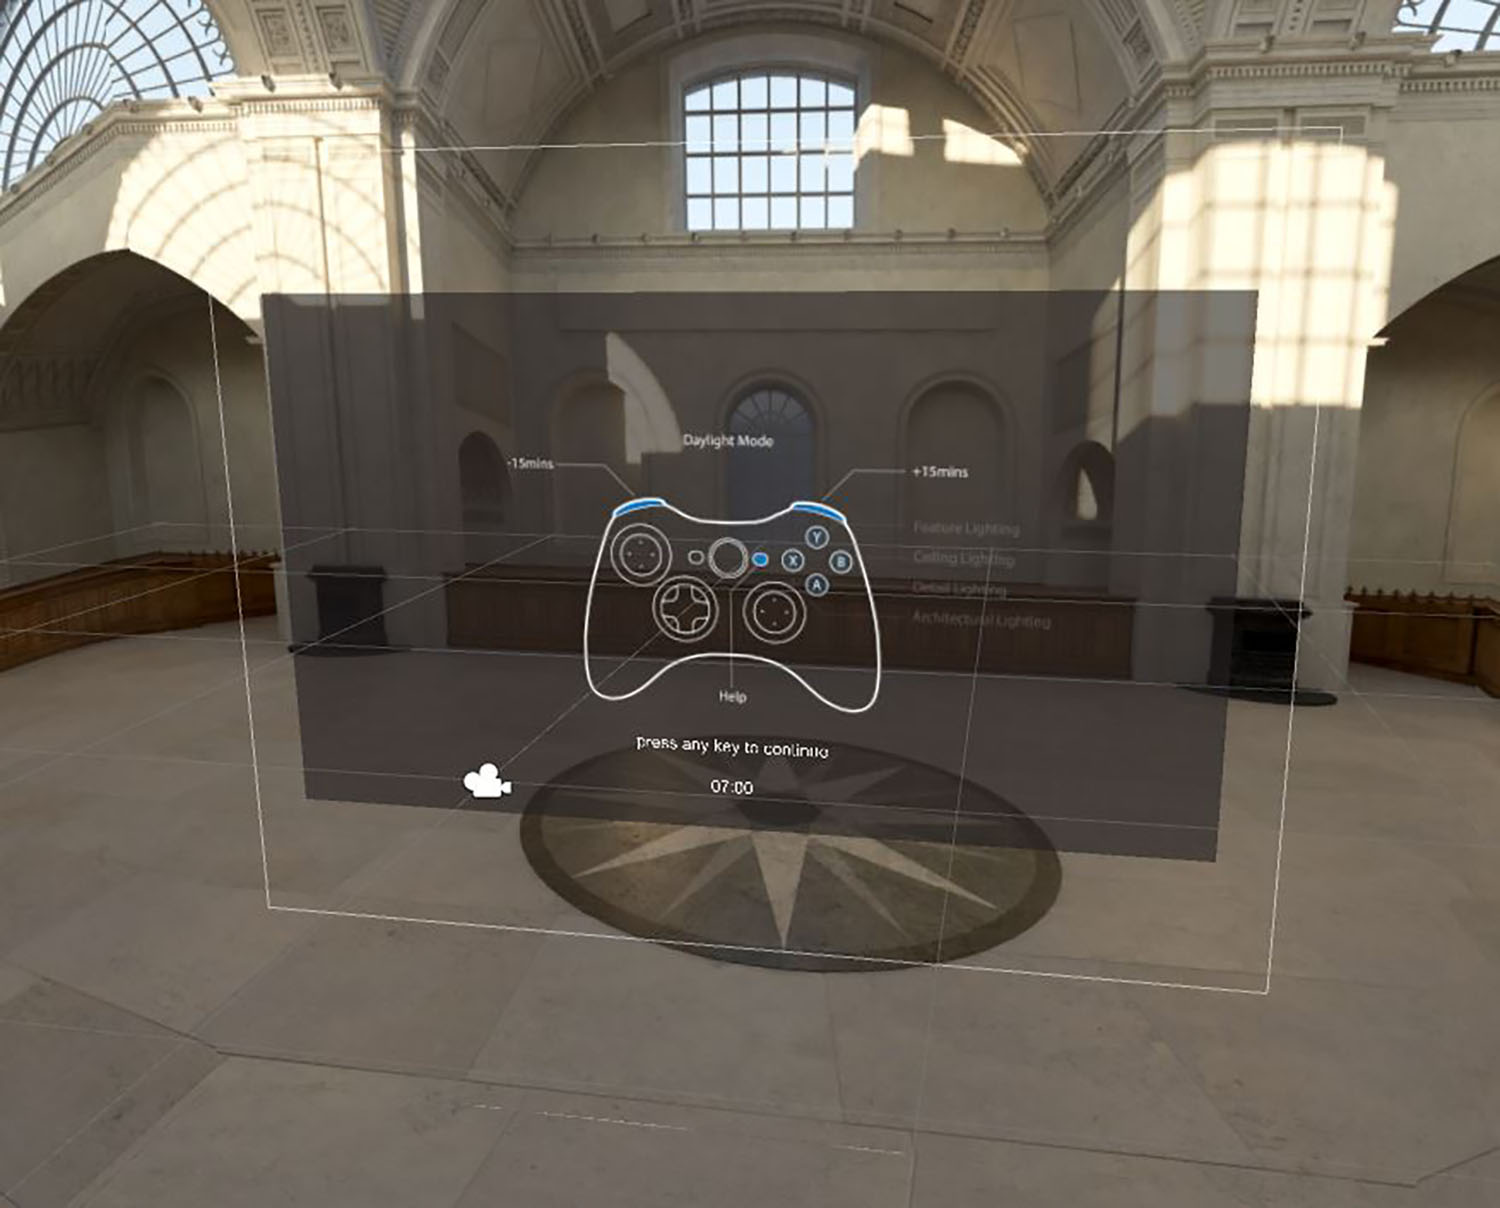
Finally, we added a handheld controller and mapped the forward and backward controls to the appropriate buttons and added an infographic to explain the function of each button.
Below is the video version of the completed VR experience – designed to run on Oculus Rift:
Creating a 3D stereoscopic web version
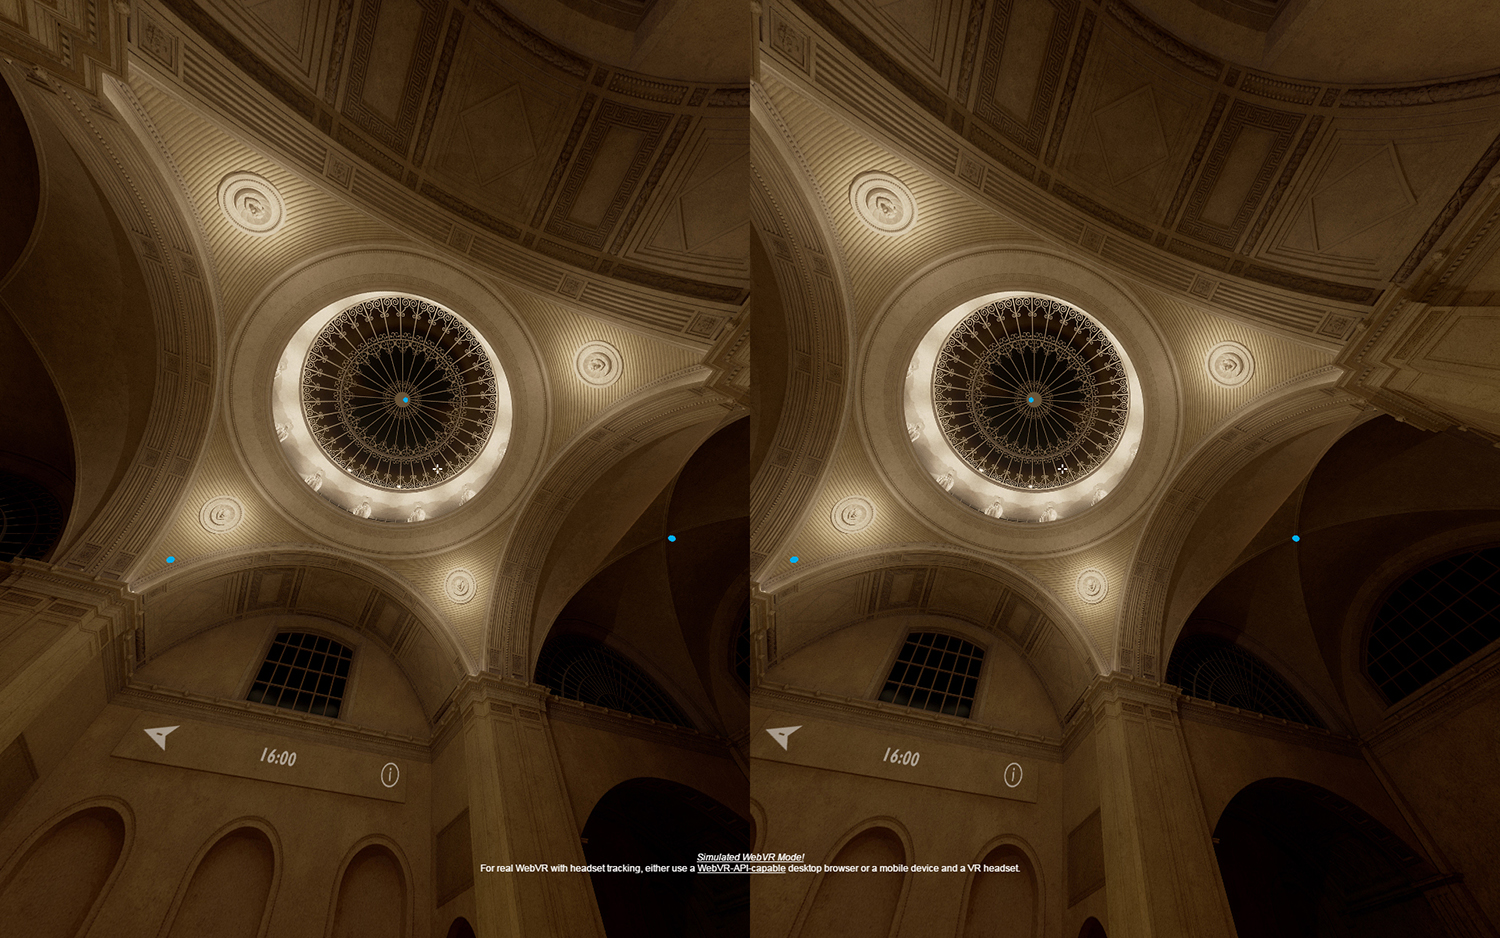
While we were pleased with the Oculus Rift version of our VR experience, showing this to a wider audience is not easy – VR is a great technology for visualising and its potential is obvious, but at present few people outside of the CGI industry have the high-end HMDs or hardware equipment necessary to run such content. We therefore decided to create a web-link version of the same experience that people can access as a standard 360 panorama on any browser or device, but also view in stereoscopic 3D when using a smartphone and a Google Cardboard VR unit.
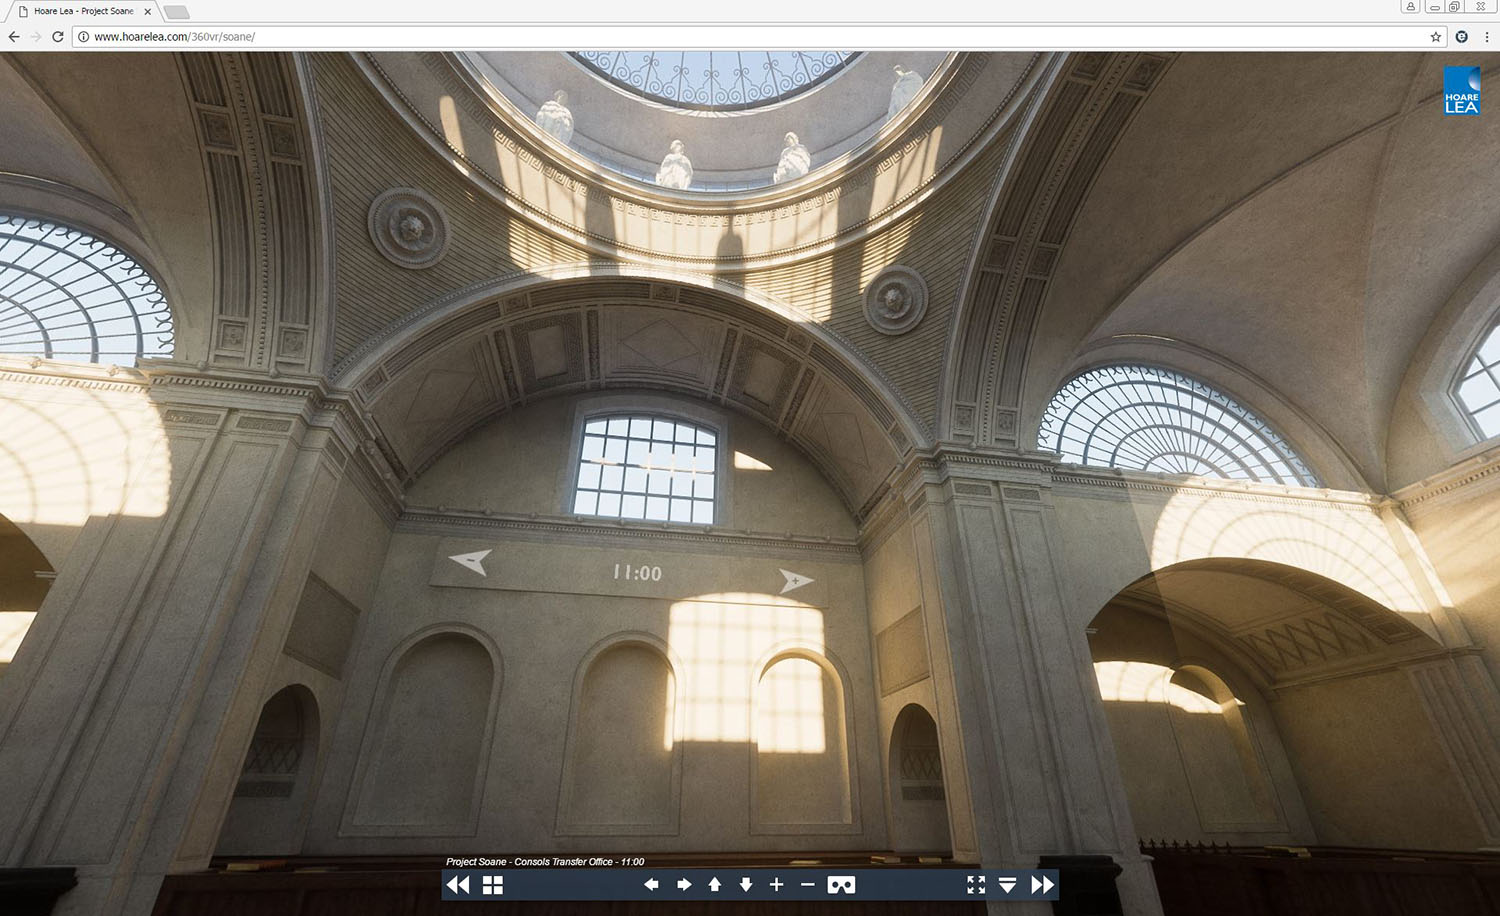
Standard 360 panorama mode in web browser
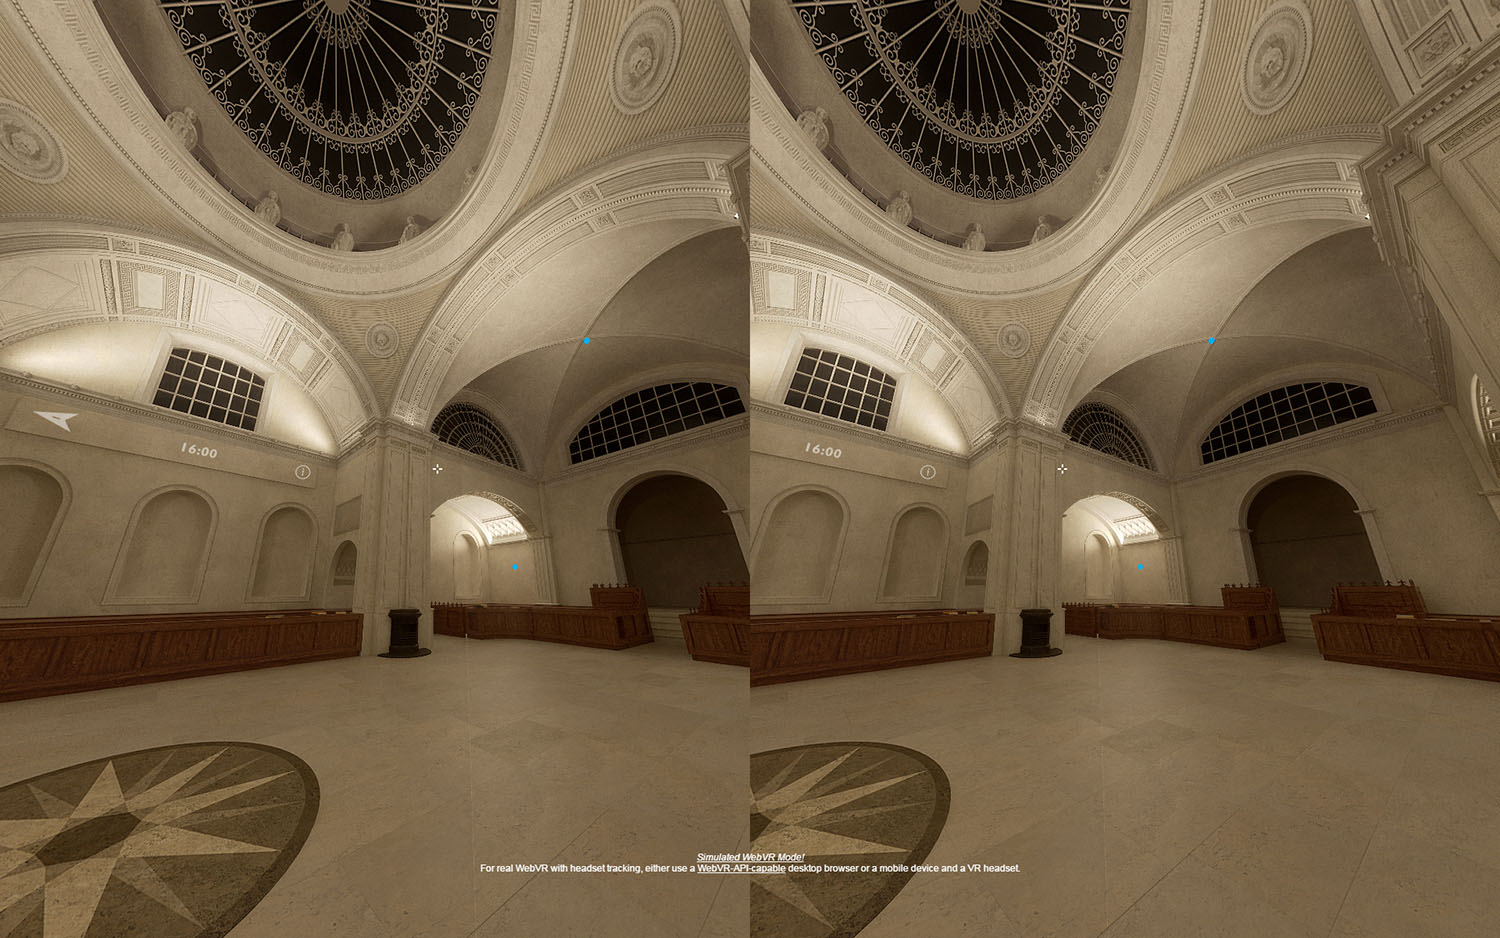
3D stereoscopic view in VR mode
We used a similar workflow as we had for Unity, starting by splitting the cubemap strip into separate images and then processing these images through krpano software, which is a lightweight html5 panorama viewer.
Once krpano processed the images we could create different scenes, to which we added hotspots and controls using the built-in XML code, so that we could retain the interactivity of the Unity version. For viewing in VR mode with Google Cardboard, we had to change the interactive elements to operate using ‘gaze control’ rather than the handheld controller. We also introduced new icons for changing the time of day and experimenting with the artificial lighting elements in the evening scenes. We did have to reduce the time increments to step through every hour, rather than every 15minutes – this was to keep the link and loading waiting times as light as possible.
The web version can be viewed by using the link http://bit.ly/hlsne360. You will need a Google Cardboard VR unit to view in stereo 3D.
Hope you enjoy!

About this article
Making of: Project Soane - VR Lighting Experience


